
Showing posts with label architecture. Show all posts

Monday, December 10, 2018

Gettin' Sketchy With It!


Third grade GATES students at Lakeview Elementary have been focused on Architectural Design. As an introduction to their learning, Mrs. Blake read aloud Iggy Peck, Architect by Andrea Beaty. They also spent time researching famous structures around the world using various depth and complexity icons to identify patterns, details, and how their structure has ethically impacted the environment. This then led into an architectural details hunt, where students viewed houses and identified exterior details from their research. Their language of the discipline deepened throughout this initial study as students prepared to design their own city.

With inspiration from Iggy Peck’s Blue River Creek Challenge (found in the Iggy Peck’s Big Project Book) students began focusing on attributes of a town and what it should include. The components outlined in the book included: school, library, factory, office buildings, shops, city hall, zoo, fire/police stations, and a building design of their choice (ex: a church or museum). Students set to work on creating their own town with the outlined parameters. As part of the project requirements, they were tasked with creating both an aerial and street view rendition of their town.


As part of their studies, experts from the field visited their classrooms. Brandon Blake, from Blake Architects, visited to discuss the design process from the architect’s perspective. He showed students examples of blueprints and models from projects he’s personally been a part of. These artifacts provided an up close look at how important scale images and models are to both the client and the builder. Blueprints and scale models allow both parties to visualize the client’s request and identify areas that need additional attention to detail. He stressed the importance of getting to know the client and understanding their vision. 
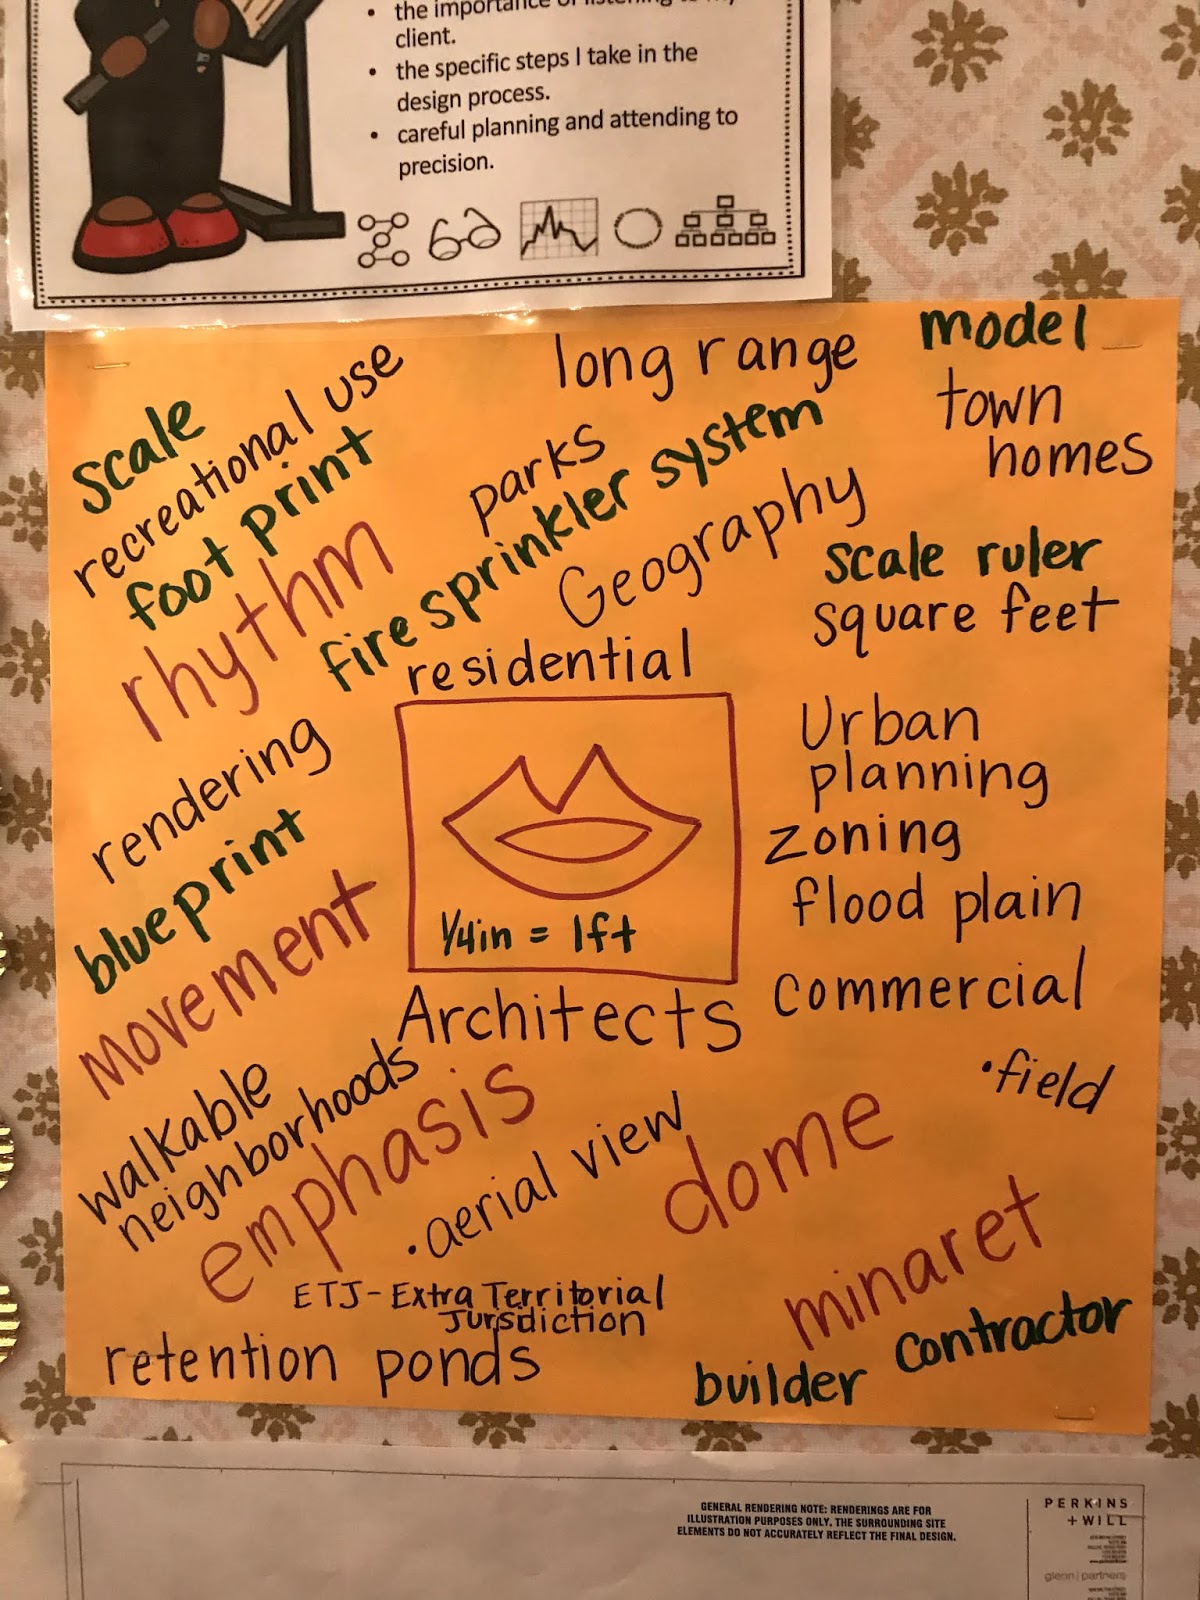


Lisa Payne, Town Planner in the Community Development department in the Town of Trophy Club, also visited to discuss urban planning. She deepened their thinking by sharing the importance of long range planning that is mindful of the community and its resources. Relevant information was introduced as she spoke about future projects planned for the Town of Trophy Club. One of the projects specifically shared was the Byron Nelson Field House, currently under construction. Knowing that many of these third graders will one day utilize that facility brought much excitement to the room. 

During both of these visits, students were able to ask the experts questions that would lead them to be more successful in their own design process. They developed a language of the discipline that would be carried with them throughout the project. It was especially neat to watch students roll up their “blueprints” in true architect form, just as they saw Mr. Blake do during his visit. Annabell said she has enjoyed this study because, “as a little kid you might want to grow up to be an engineer and this project is a really great start”. Providing relevant, real world experiences for students can open the doors to so many possibilities. 


Initial designs were done by hand on paper as students made decisions for how their town would be mapped out. Once their drafts were complete, it was time to begin digitizing them. Google Sketch Up was the tool selected for students. Sketch Up is a 3D modeling tool that proved to be the perfect solution for bringing their towns to life. As a way to familiarize students, Sketch Up provides a curriculum of tutorials for all levels. Students were introduced to the tool by completing the Turtle Sandbox lesson. This lesson provided foundational skills necessary to be successful with the tool, such as learning basic navigation within the tool bars, learning to draw circles and turn them into cylinders, and learning to add color/texture to designs from the materials library. Natalie was excited to share her Sketch Up thoughts as she found value in the ability to let “her imagination to come to life on her computer.”


Their digitized town projects are still a work in progress. Ilaisaane has found herself thoroughly engaged and challenged throughout this project. “I love that I can see my town from all different angles and I can easily see what needs to be improved. The most challenging part was designing my town. There are so many things I want to include, but only a limited amount of space.” Mrs. Blake is very excited about submitting their finalized projects to be considered for Expo presentations. Students would like to present their towns, give a demonstration of Sketch Up, and possibly provide an interactive session where participants can design something of their own. Either way, this group of students can’t get enough of the design skills they are acquiring and they are eager to share their new learning with others. Stay tuned!

Wednesday, April 12, 2017

Digital Learning Can Be a Zoo!


Students at Northwest ISD's STEM Academy recently finished an extensive project across two classes to research, design, and create a functional zoo habitat for a specific type of animal.  Students who were enrolled in both Mrs. Goodwin's Biology class and Mrs. Garrett's Intro to Engineering and Design class used their knowledge from both subjects to informatively create their habitats.

Initial Hand Drawn Plans
Austin, a student who worked on the Elephant Habitat Project, said that "the design part of the project had multiple steps.  The first plans were hand drawn and then scanned in so we had a copy of them.  Then I used inventor to create the digital model of the habitat."  Inventor is a 3D modeling program that offers professional-grade 3D mechanical design, documentation, and product simulation tools.  Student's in Mrs. Garrett's class use Inventor for numerous projects throughout the year, including this one.  "I started by creating a general shape of the habitat, then cut into it with features like stairs, rails, and trees," said Austin.

The project had many parts other than the actual modeling aspect.  Students had to research many aspects of their chosen animal's living needs and incorporate those into their design.  Factors such as natural habitat, environmental niche, food web, behavior, adaptations, and limiting resources were all considered.  Groups created folders in Google Drive to share and collaborate on their project portfolios while completing their research.   "My favorite part of the project was designing the zoo habitat so it resembled a real habitat," said student Marla, who worked on the Harpy Eagle Habitat Project.  "We discovered things during our research that changed out initial designs.  For example, two harpy eagles in the wild occupy an area of over 20 square miles and they typically nest at a specific height.  Because of this, we had to change our initial design which wasn't large or high enough."

Austin agreed with Marla, saying that "concepts for our design were created over and over, including many drafts as we did research."  But not only animal factors had to be taken into account when creating their zoo habitat, as they had to ensure that designs accounted for humans visiting as well. "For example, the [Americans with Disabilities Act] requires that all stairs be between 30 and 50 degree elevation, so we had to take that into account as well," said Austin.
Elephant Habitat Final Project Portfolio
This project incorporated technology for in-depth research as well as informed design using cutting edge modeling software, allowing students to explore multiple facets of what it takes to create a real zoo habitat.  If you'd like to examine some of the projects in more detail, check out the links below!


Monday, November 30, 2015

Designing an ER: A Medically Sound Project

We've all been to an emergency room at one time or another, either for ourselves or for someone else, and we all know what to expect: reception area, waiting room, medical facilities, etc.  But did you know that every last detail is painstakingly considered during the design of an ER, even down to the color of paint on the wall?  This is something that students at Byron Nelson High School recently discovered during their work on a project to design an emergency room from the ground up.

Students in the Academy of Biomedical Sciences (ABS) collaborated with students in the advanced Architecture class in order to create a 3D design of a an emergency room, taking into account all the medical and physical requirements that an ER needs to function.  The project began with the ABS students, who had to use their knowledge of medical sciences to plan an emergency room that would be streamlined and effective from a medical standpoint.  Using Google research tools, they figured out all of the necessary data, including measurements, medical hardware, furniture, facility necessities, etc.  "It was way more intricate than we were aware," said ABS student Matthew.  "Once we began researching we realized the level of detail was incredible."

In order to keep up with all the design ideas and collaborate with one another, one of the groups decided to use a Pinterest board as a tool.  ABS students Rasia told me that it "made it easier to see each other's thoughts and ideas; it helped us design the ER without having to meet all the time."  In addition to structural design, the group incorporated new technology advancements into their plans.  Breakthroughs such as facial recognition software and high tech wristbands for easier patient identification make for a better functioning ER, as shown in the group's Google Slides presentation:

Once the ABS students finished collecting data and design requirements, they sent the data along with basic sketches to the advanced architecture students.  These students then worked with the ABS group to construct a 3D computer model with their architecture software according to the specifications of the group.  Architecture students had to incorporate necessary changes to make the design more functional or to make it structurally sound.  Once the design was agreed upon, the 3D designs were rendered by modeling software.  These models, as well as the project in detail, can be seen on the architecture program's Standards Based Bulletin Board:

In the end, the project was a great success.  By utilizing useful tools like Google research, Pinterest, 3D modeling software, and Google Slides, groups were able to communicate and collaborate on a design for a newer, better emergency room. Students like Rasia walked away from this project with a greater appreciation not only for each other's classes, but also for emergency rooms and the planning that goes into creating one.  "With no limits to our innovations and designs I believe our team was able to execute to the best of our abilities... I was able to learn much more about an ER than I ever have, and I certainly have way more respect and appreciation into all the aspects relating to an ER and how they are made."

Monday, January 19, 2015

Diversity in Design - 3D Models

The role of an architect is quite diverse. They have to be imaginative and creative and  have a vantage point that is both big picture and focused on attention to small detail.

Students in Mr. Taylor's Architecture Design class were given the task of creating a 3D model of a residence using Autodesk Revit. In addition to recreating a residence, students had to recreate all of the necessary views for a set of construction plans including a floor plan, elevations, section views, detail plans, and schedules. Students decorated the houses using furniture that they downloaded form revitcity.com. The final step was creating an animated walkthrough of the house to show a fully decorated residence.

John said that he learned a lot from this project and was able to build on what he learned in Principles of Architecture to recreate this project using new software. John stated that he enjoyed that fact that "Mr. Taylor gave us freedom to decorate and add elements that appealed to us".


While reflecting on this project, Melanie shared that she initially struggled with this project because she didn't want t learn a new software "Once Mr. Taylor walked us through the process of creating a set of plans, it made more sense and I was open to the idea of learning REVIT. I am so glad I did!"